

Kiwi Co Vortex Lab Project Kit Review + Coupon
Disclosure: This post contains affiliate links. I received this box for review. I receive a commision from my links.
Kiwi Co Vortex Lab Project Kit Review
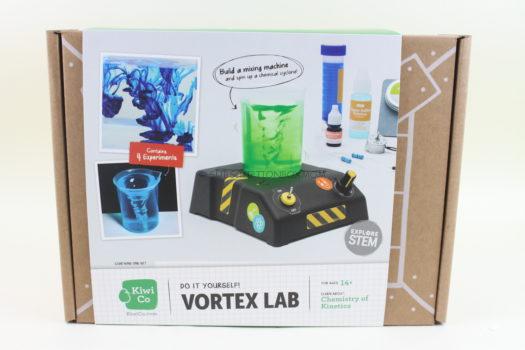
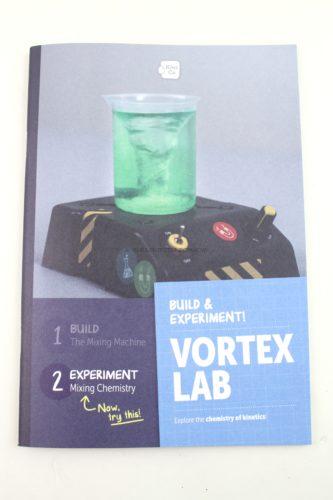
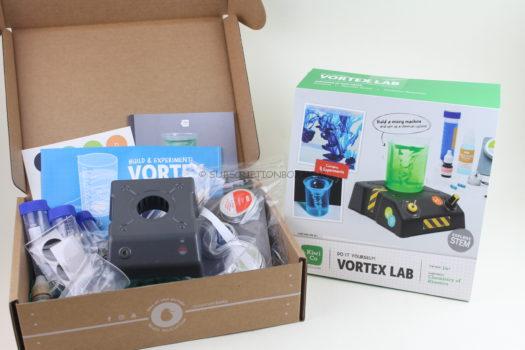
The Vortex Lab from Kiwi Co is part of the new Chemistry Lab Set. The chemistry lab set is made up of three boxes: Vortex Lab, Fire Lab, and Glow Lab. You can buy them all for $109.95 and save $20.00! The Vortex Lab sells alone for $49.95 and includes a magnetic mixing machine to make a cyclone. Young Scientists will learn the chemistry of solubility, reaction speed, and oxidation-reduction.
Everything came in Kiwi Co box, with a colorful sleeve about the lab. The back of the box has a picture with all the supplies listed.
First Look
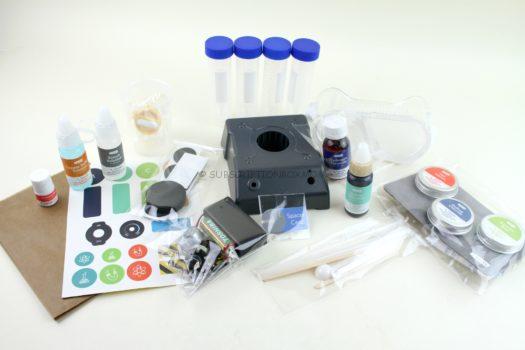
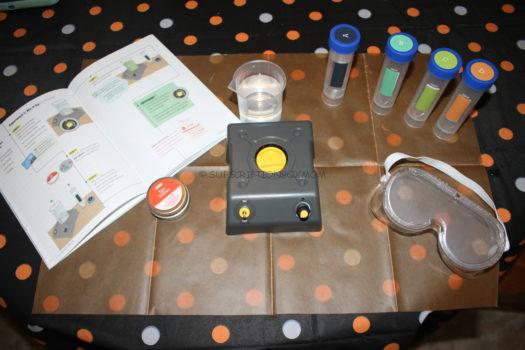
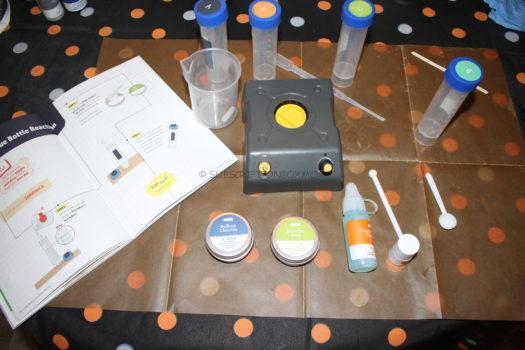
Supplies The only thing you have to supply in this kit is water.
Mixing Machine: Your child will begin the box by making the mixing machine. All the parts are included, along with directions.
Tools: There are pipettes, scoops, stir sticks, test tubes, stickers and a beaker in the box
Chemicals: The box includes dye tablets, ascorbic acid, sodium chloride, starch solution, copper sulfate solution, iodine solution, methylene blue, and hydrogen peroxide.
Safety: To keep you safe, the box includes a mess mat, googles and three different sizes of gloves. The gloves were left out of my box, but I just used ones from another box.
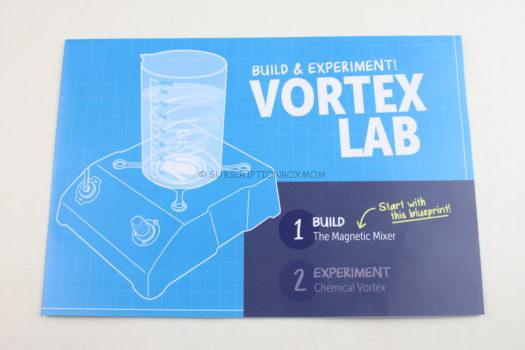
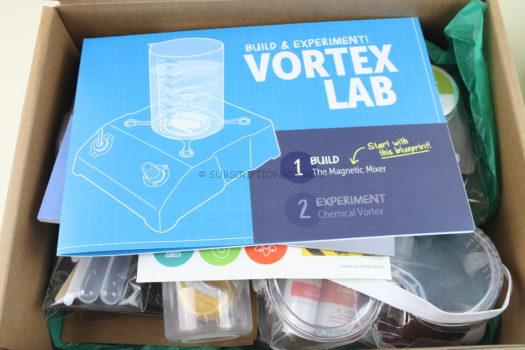
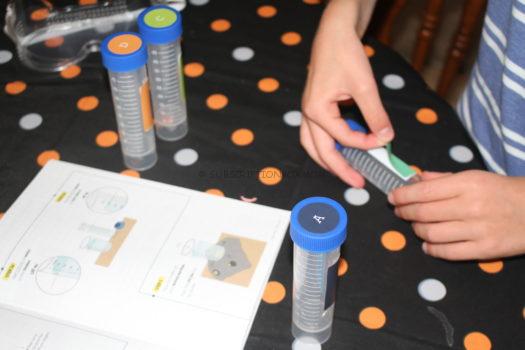
The first part of this box is to make The Magnetic Mixer.
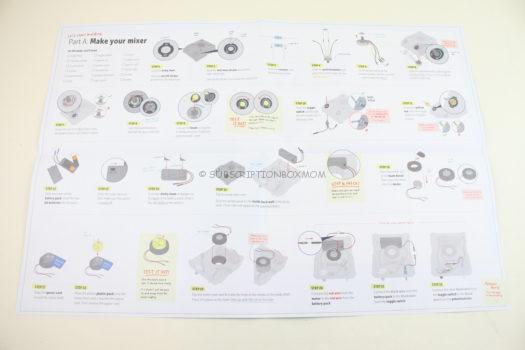
While there are many different steps to make this machine, everything was easy to understand and follow. The machine only took a few minutes to build.
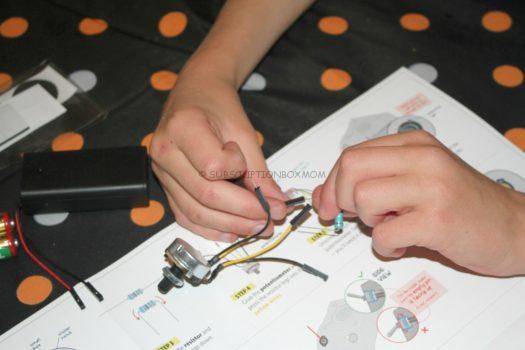
My 9 year old was able to connect the wires and do most of this product himself.
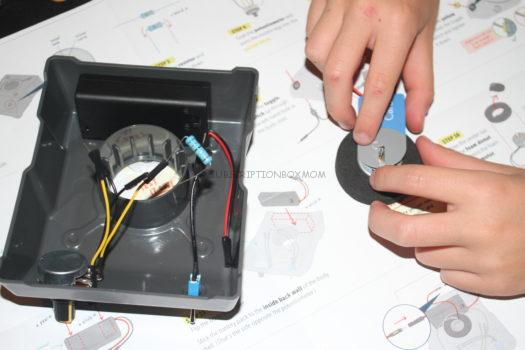
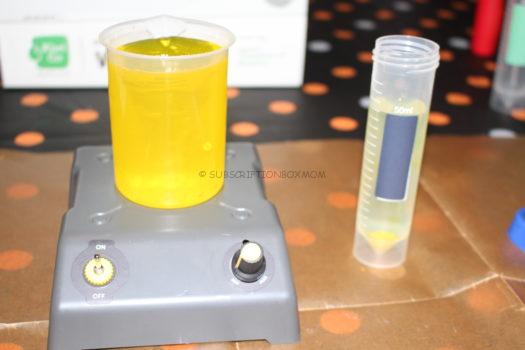
Everything was assembled and connected by hand. Once completed, we tested out how to make a vortex.
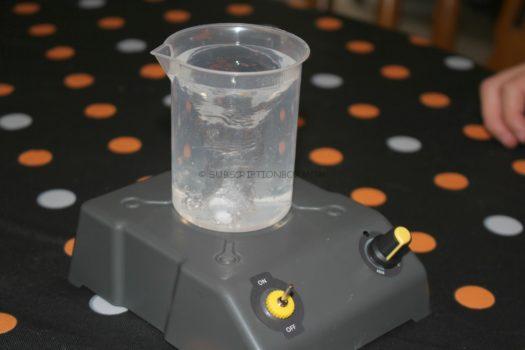
You can see the vortex in the water, so our machine works!
All of the experiments are found in this lab book.
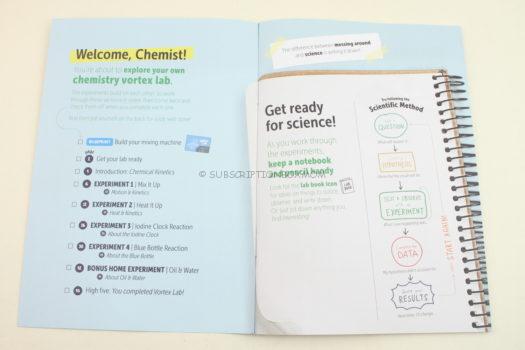
When you open the book, there is a glossary and the scientific method.

There is also a page with all the supplies listed.
Experiment #1: Mix it Up
Once you place your stickers on the test tubes, you will use the beaker, stir bar, mixing machine, test tubes and dye tablets to see how fast tablets dissolve in different kinds of solutions.
Stickers are applied to the side and tops to each test tube.
The dye tablet dissolved in the spinning water much faster than just regular water.
Experiment #2: Heat It Up!
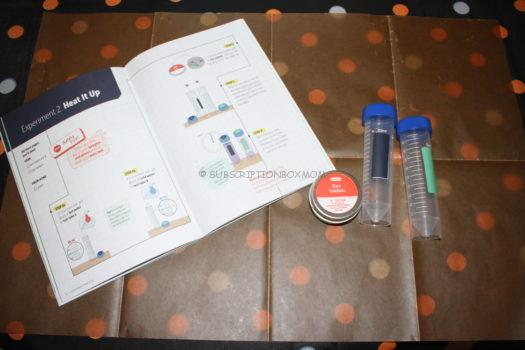
This experiment studies how water temperature will cause dye tablets to dissolve in water.
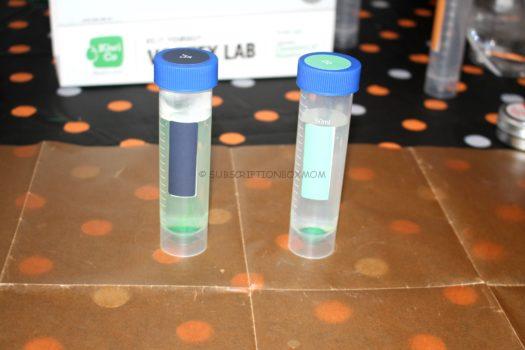
The test tube on the left was filled with hot water, while the one on the right was filled with cold water. The dye tablet dissolved in the hot water faster because the molecules in the hot water were moving around faster, just like in the 1st experiment.
Experiment #3: Iodine Clock Reaction
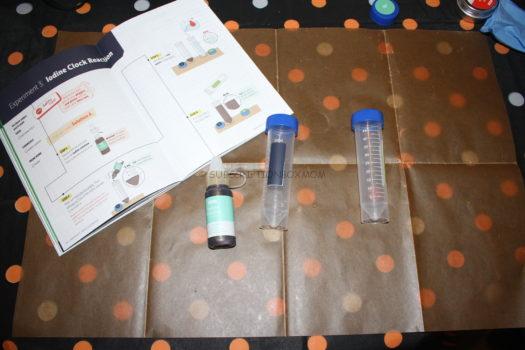
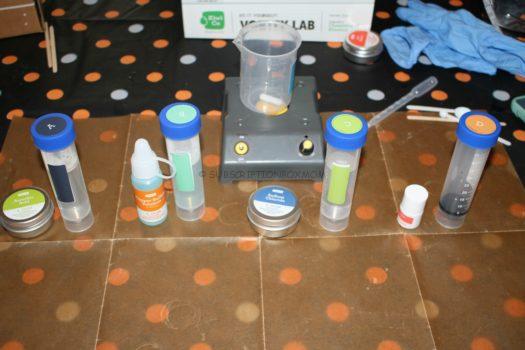
I ended up needing more chemicals and test tubes that are shown in the picture. This was one of the longer experiments in the box.
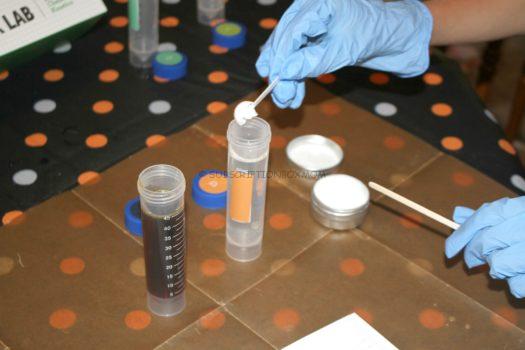
The test tube on the left is a mix of iodine solution and water. The tube on the right is water and ascorbic acid.
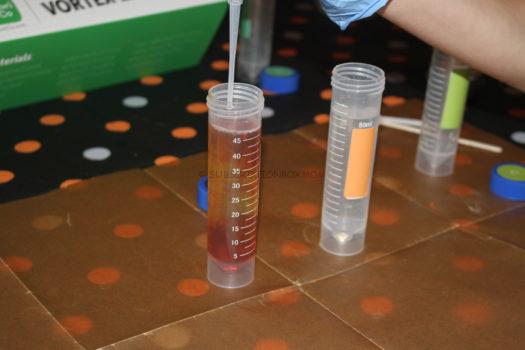
Once we added 3ML of the ascorbic acid to the iodine solution, it turned clear.
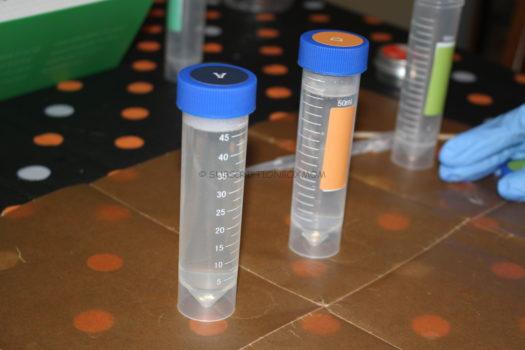
Here is a look once it's completely clear.
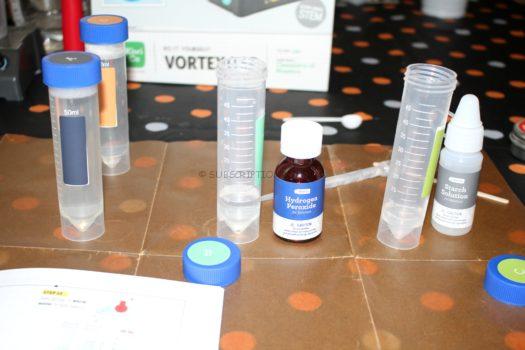
We continued to make more solutions. The middle one is a mix of hydrogen peroxide and starch solution. We also had a test tube of just water.
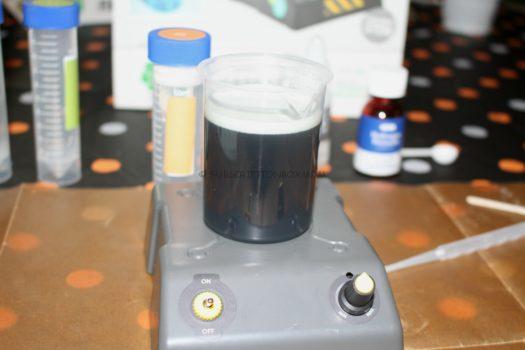
Once we added all three solutions together, we turned on the machine. First, the solution turned yellow, then turned black! These reactions were due to kinetics and chemical reactions.
Fast Reaction: Hydrogen peroxide reacts with iodide ion to make iodine, but then the ascorbic acid turns the iodine back to iodine. This keeps repeating until the hydrogen peroxide is used up and the reactions stop.
Slow Reaction: Once the hydrogen peroxide was gone, the iodide ions react with the starch to create the dark brown chemical. This reaction continues and the solution gets darker each time.
Experiment #4: Blue Bottle Reaction
Like the last experiment, four different solutions are made before mixing them together.
Solution A: Hot water and ascorbic acid
Solution B: Warm Water and copper sulfate
Solution C: Warm water and sodium chloride
Solution D: Methylene blue
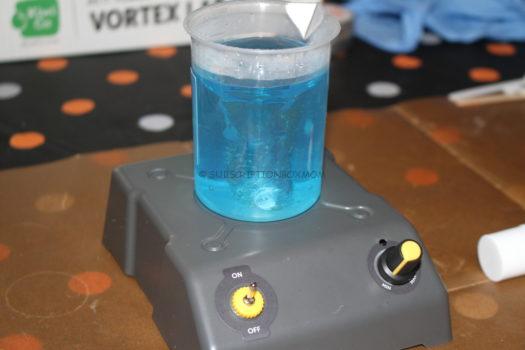
The first three solutions are mixed together, then .5ml of the blue solution was added and mixed. The solution then turned blue.
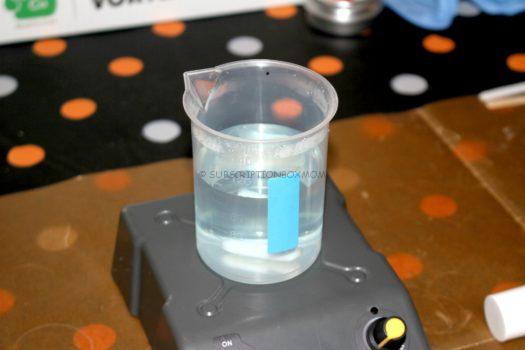
Once we stopped the mixing and waited a minute, the solution turned white again.
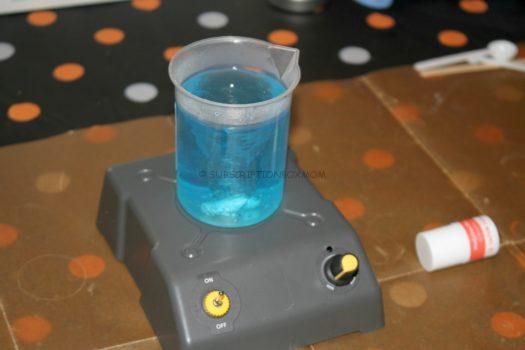
Once the machine was turned back on, it would turn back to blue. You could keep doing this over and over for about an hour!
My kids played with this experiment multiple times. The change in colors is due to oxidation reaction. The mixing causes more oxygen to be mixed in the container, thus turning it blue. Once the mixing stopped, the oxygen decreased and caused the color to go back to clear.
Final Thought: My son loved all the experiments. This box included experiments with real Science and learning. The Blue Bottle Experiment was the favorite in the box. My kids and my nephew loved seeing how the solution changed colors. This would be a great box for a kid who loves Science. While designed for14 years and up, with supervision, this would be a good box for younger kids too. You can buy this box for $49.95 or buy all three chemistry kits for $109.95, a savings of $20.00. These are one time only boxes, so you won't be signed up for a subscription.
You can use my link to get 40% off the first month of any line when you subscribe.
Do you like FREE SUBSCRIPTION BOXES? Click HERE to see my free subscription box list.
You can see my FULL coupon list HERE.
Do you love Giveaways? Click HERE to enter all my Giveaways.


This is a really fun and cool kit for kids! No doubt the assembly for magnetic mixer might need some guidance from an adult but the rest of the experiments seem simple enough for a kid to follow and learn some solid chemistry along the way!